New homeowners tend to acquire quite the collection of tools when they first move in. Trips to local hardware stores, shower gifts, fixes that somehow require that single tool you don’t have in your collection all attribute to a random pile of tools.
Pretty quickly, I’m sure you feel like you have plenty, actually you probably think you have too many when the dust settles, but trust me when I say that this enormous collection of tools will mysteriously be hidden in every nook and cranny of your home in about a year IF you don’t get those bad boys under control with some serious tool organization right from the start.
With a specific, simple and super affordable tool organization solution, you will never lose a tool and will always know where to add any new tools you acquire along the way.
Step 1 – “Large” Tool Storage
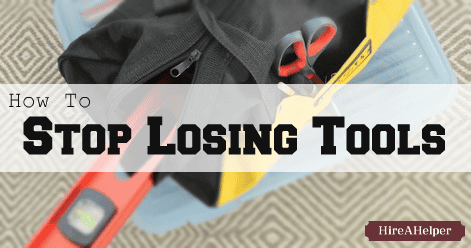
We suggest starting to organize with a tool storage bag, one that usually comes with your drill set, and a Tupperware bin. The tool bag is effective storage for holding the “big tools” all in one place. And it’s portable and can be carried straight to the area where you’re working. The tool bag can hold your drill, level, hammer, and all of your drill bits. However, tool bags tend to swallow items (kind of like a purse!) so you want to limit what is in this bag. Stick with the large items that won’t get swallowed into the depths of this dark bag.  The bigger & brighter the better for the tool bag!
 It’s nice that this drill set came with storage for the bits in order to keep this bag even more neat and tidy. If your bits aren’t in a handy container, I suggest adding a Tupperware container of bits into the bag rather than allowing them to float freely.


If your bag has a pocket on it, I would suggest filling it with a pair of scissors and a pencil. These items are random but seem to always come in handy when you’re doing jobs around the house. Serious tool organization includes the random stuff, like pencils and scissors. Having them right there (and not having to run to the junk drawer in order to get a pair) will save time and stress!
Step 2 – Tiny Gadget and Mini Tool Storage
![IMG_9134]()
Now for the smaller, more annoying gadgets that seem to clutter the tool collection– the same tools that used to notoriously go “missing” after awhile (before your grand tool organization). We suggest using a larger Tupperware container in order to keep these mini tools organized.  We love that this container has a top and will hide all of this clutter and make it look less… cluttered.
![IMG_9140]() Step 3 – Tool Organization Labels
Step 3 – Tool Organization Labels
Now, the key to KEEPING this container organized: LABELS. All you need is some painter’s tape and a marker, items I’m sure you have leftover from the big move!
 Stick the tape on the bottom of the container and write exactly what tool should go in that spot. The tape is temporary, so as you get new stuff or get rid of others you can quickly rearrange your organized tool collection.
 Place each item on its tape label and Voilà! Tool organization means you will never lose or leave behind a tool again!
 Anytime you need to hang a picture, hang some new curtains, or just play Mr(s). Fix-it around the house, you’ll be ready thanks to your new tool organization superpowers!
Take both containers to exactly where you will be working and hopefully you will never have to make a trip to the garage, junk drawer, laundry room or basement to find that one dang tool that escaped your collection. It’s all there, all ready for you to get to work!
The post Where’s My Stapler? A DIY Tool Organization & Storage Idea appeared first on The HireAHelper Blog.


 Step 3 – Tool Organization Labels